Monday, January 18, 2016

Chicken Enchilada Pasta


I'm not going to take any credit for the creativity of this dish.  I found the idea on pinterest and only made minor changes to make it processed free, but wow, it's good!  If you like Mexican flavors, this will be right up your alley.  Plus, my whole family gobbled this up.  It's always good to have a dinner you know will go over well with everyone.  The additional toppings really made this easy to customize too.  I think you'll enjoy this easy, fun twist on a pasta dish.

2-3 cooked chicken breasts, shredded
2 Tbsp. coconut oil
1 diced or pureed onion
1 diced red pepper
2 cloves of minced garlic
1 4 oz. can diced green chilies
2 10 oz. cans mild green enchilada sauce
1 10 oz. can red enchilada sauce
1/2 tsp. salt
1 tsp. cumin
1-2 tsp. chili powder (depending on how much heat you like)
2 cup shredded cheese (Mexican blend, Monterrey Jack, Colby or Cheddar)
1 cup sour cream
1 lb. whole wheat or sprouted grain pasta (any shape - I like rigatoni best)

Toppings: shredded cheese, sliced olives, avocado, cilantro, tomatoes, green onions, sour cream

Heat a large, high-sided pan or medium sized pot on medium heat and let the onions cook for a few minutes in the coconut oil until soft.  Add the red pepper and garlic and let them also soften.  Pour in the green chilies, 3 cans of enchilada sauce, shredded chicken, salt, cumin, and chili powder.  You want this to completely warm through and start to bubble - about 8 to 10 minutes.  Turn off the heat and stir in the shredded cheese.  Then stir in the sour cream completely and pour this entire mixture over the freshly cooked pasta.  Let everyone add their desired toppings and devour!

For ease, I used a rotisserie chicken and shredded the whole thing early in the day so when dinner time came, this was super fast to make.  This can also be easily doubled to feed a crowd, just use larger pots for cooking.

Friday, January 8, 2016

Mangos and Mascarpone


I think this has to be one of, if not my absolute favorite snack or dessert.  There is no real recipe - it's just fresh mango cut up with a dollop of mascarpone cheese, but it is SO delicious!  Ripe, cold, juicy mango is of course the star which is good on its own.  Then add the sweet, creamy, mild mascarpone and it takes it to a whole new level.  If you're not familiar with this kind of cheese, it most resembles cream cheese without the tang and a little sweeter, but without sugar.  You could substitute some cream cheese with the mango pieces, but it won't be nearly as good.  I say give mascarpone a try if you haven't had it before, and for those who already love it, here's another way to enjoy it!


Sunday, January 3, 2016

Sour Cream Chicken Enchiladas


I grew up eating enchiladas and wanted to make a clean version of one of my favorites - sour cream enchiladas.  The first swap is the flour tortilla.  By the time you eat these, you won't even miss them.  Then, a clean sauce with processed free ingredients rounds this out.  The first time I made these, my husband scarfed them down and then asked if they were clean - of course!  He and the kids thought they tasted like regular enchiladas.  I loved that no one could tell the difference.  

10 small corn tortillas
2 1/2 cups cooked shredded chicken
2 cups shredded Monterrey jack cheese
1 cup shredded cheddar cheese
3 Tbsp. butter
3 Tbsp. sprouted whole grain flour
2 cups chicken broth
4 oz. can diced chilies
1 cup sour cream

Preheat the oven to 350 degrees.  Combine the 2 types of cheeses (or use all Monterrey jack) to equal 3 cups, and take 1 cup of this cheese mixture and combine it in a bowl with the shredded chicken.  Lay out the 10 tortillas and evenly spoon the chicken and cheese mixture along the center of each tortilla.  Roll them up and place them seam side down in a greased (I use coconut oil) 9X13 pan. 


In a medium sized pot, melt the butter then add the flour.  Cook this for about 1 minute and add the broth.  Bring to a boil and allow this to thicken.  Turn off the heat and add the chilies and sour cream.


Pour this over the top of the rolled tortillas trying to cover everything.  Top with the remaining 2 cups of cheese.  Bake for 20 to 25 minutes.


Don't these look delicious!  I'm super confident you won't be disappointed if you try these.

Thursday, September 10, 2015

Cauliflower Pizza Crust


We have all been trying to go grain-free because of my husband and add more vegetables to our meals at our house.  I had really been wanting to try a cauliflower pizza and this gave me the perfect opportunity.  After doing a little research and tweaking this to my own preferences, our recipe for cauliflower crust pizza was born.  This has many steps, but all of them are easy - in other words, this is not fast, but it is simple.  It's also surprisingly filling - must be all the veggies.  My favorite thing is that it is processed free.  Let pizza night begin!

Makes 2 medium pizza crusts

1 large head of cauliflower
2 eggs (beaten)
1 cup shredded mozzarella
1 tsp. fine sea salt
1 tsp. Italian seasoning
1/4 tsp. black pepper

Toppings of your choice: sugar free pizza sauce, cheese, shredded zucchini, olives, bell peppers, mushrooms, pepperoni, ricotta cheese, etc.

Preheat oven to 450 degrees.  Line a baking sheet with parchment paper and liberally grease it with olive oil.  Chop the cauliflower into small pieces and pulse until finely chopped in a food processor - not pureed though.  Pour into a microwave safe bowl and heat for 8 minutes then let it cool enough to handle. 


Put small batches into a tea towel and twist to remove as much moisture as you can - it has to be dry!  You may have to do this in several batches like I did.


Transfer to a bowl and add the other ingredients.  Shape into two crusts on the oiled parchment and bake for 15 to 17 minutes. 


Should be slightly golden.  Cool a little and add your toppings.  Bake again for 10 to 15 minutes or until the cheese has melted and started to bubble.


Feel free to experiment with your own seasoning and toppings.  I also think this is easier eaten with a fork rather than picked up like a traditional pizza slice.  Give this a try - you may find you like eating more veggies! 

Thursday, August 27, 2015

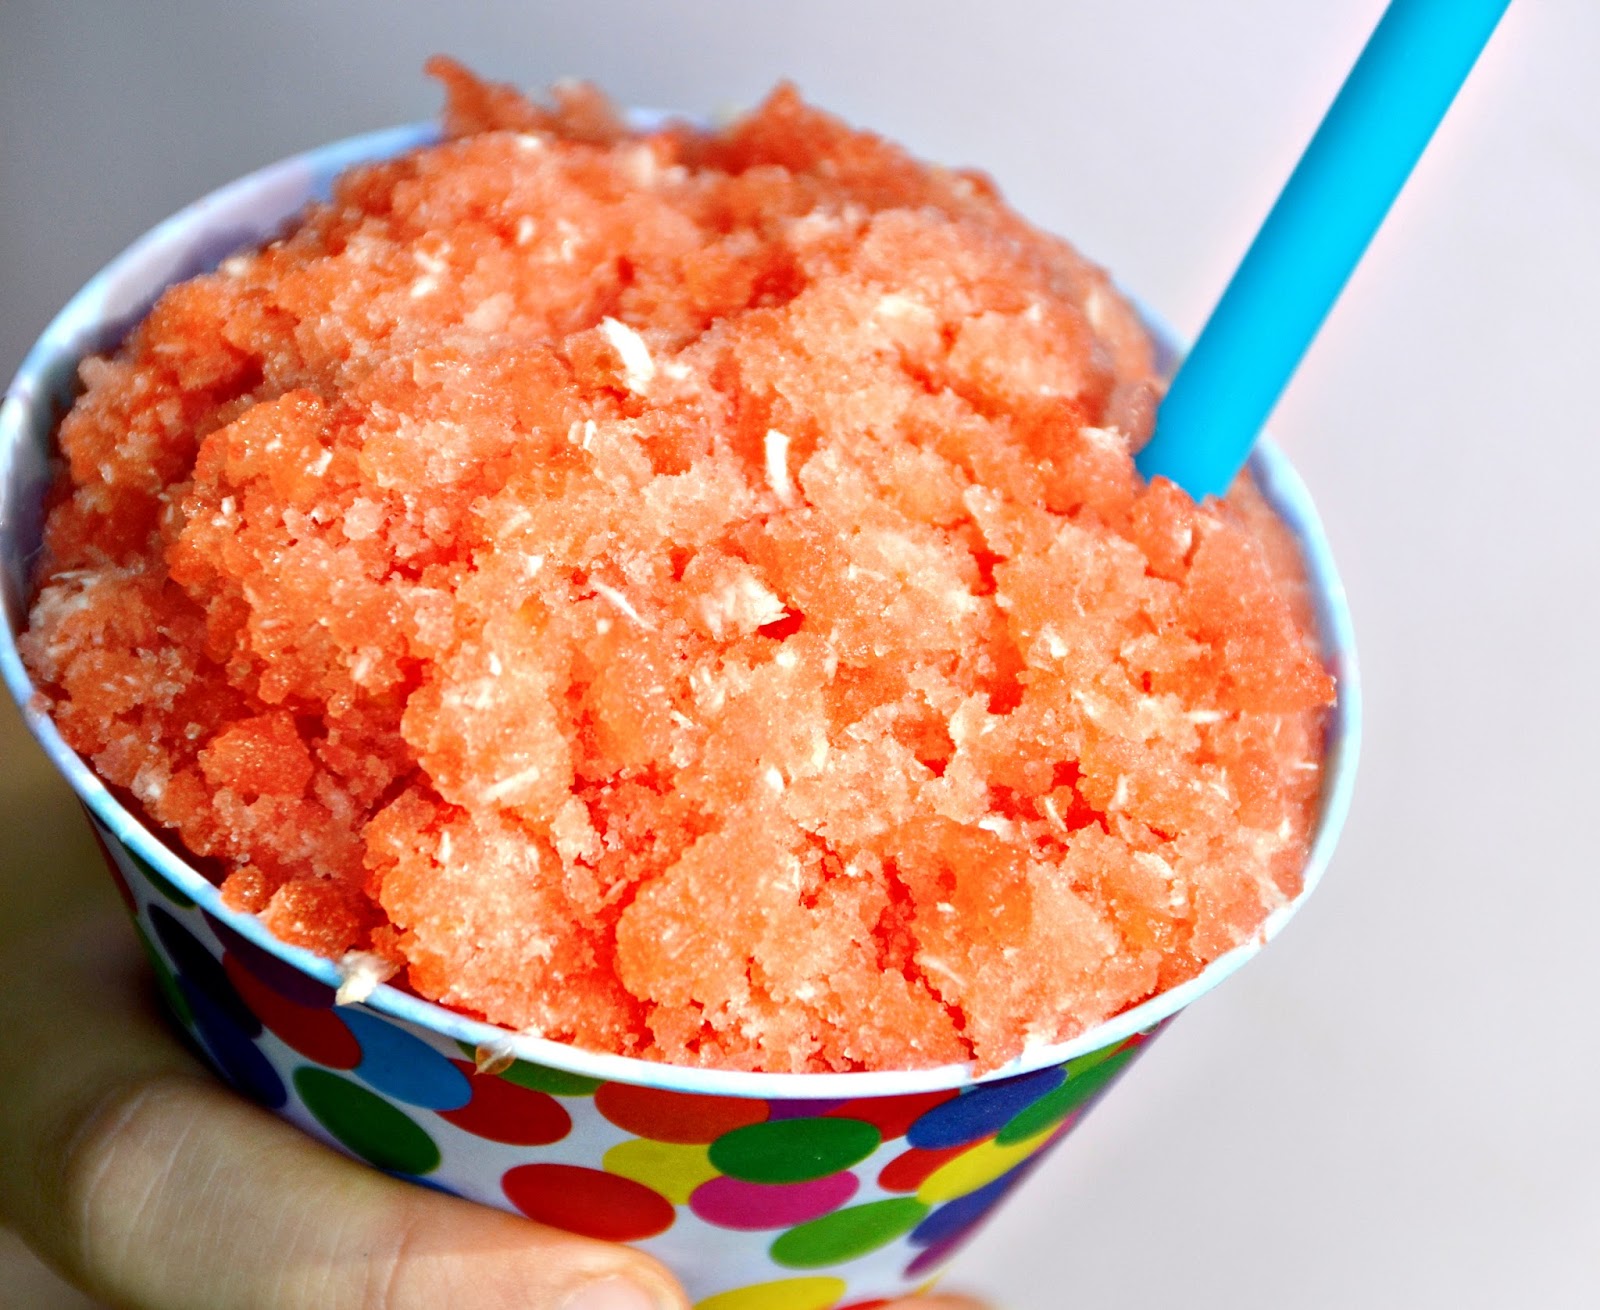
Watermelon Lime and Coconut Snow Cones

 
My friend Lenor, who is an amazingly creative cook, made a coconut watermelon smoothie for me out of frozen watermelon and coconut flavored syrup.  It was so delicious, but I wanted to come up with a sugar-less version for my family that didn't use coconut syrup since it is full of refined white sugar.  Not exactly processed free!  I also wanted to introduce one more flavor - lime.  Have you ever heard of people eating watermelon with a sprinkle of salt?  It may sound odd, but it does tend to add a nice flavor enhancement.  Lime can often take the place of salt in a recipe and add tremendous depth of flavor, as well as a freshness you just can't beat from citrus.  So this was my thinking in adding the lime.  The result was something absolutely wonderful, sweet, and completely processed free.  My kids gobble this up as if  they were being given the most delicious treat in the world. 
 
juice of one lime
1/4 tsp. coconut extract
3-4 drops liquid stevia
2 Tbsp. finely shredded unsweetened coconut
3 1/2 cups frozen watermelon chunks


Cut fresh watermelon into 1 inch squares and freeze in a zip top bag.  This will take hours, if not over night to freeze completely.  Once frozen, you are ready to make the snow cone.  Juice one lime and add the coconut extract and stevia to the juice and stir.  Pour this into the blender or food processor.  Add the shredded coconut and frozen watermelon.  Puree this until it all comes together.  You will have to stop the machine, scrape down the sides, and stir it together a few times.  Once the watermelon is not in chunks anymore and it's all the right consistency, give it one more stir to make sure all the flavors are incorporated evenly before serving.  You will see white bits of coconut throughout the snow cone. 

Another great thing about this recipe is that it doesn't melt as fast or in the same way as a regular snow cone made of water and syrup.  Because the base is watermelon, it stays together quite well - even to the last bite!  And the kids do not get as sticky with sugary syrup since there is none, not to mention stained by artificial food coloring.  I hope you enjoy this as much as our family.  This has become one of our favorite summer treats - with no refined sugar!


Wednesday, July 29, 2015

Berry Yogurt Parfait

 
I'm about to have a little love fest of photos for my berry yogurt parfait!  It has been my very favorite breakfast of the last few months, and I'd even go as far as calling it a dessert - it's that good!  
 
It's chalked full of yumminess without any refined sugar, which makes it processed free.  This comes together in no time (especially if you use berries that don't need to be cut up) and puts a smile on my face every morning I eat it.  Now that's worth waking up for!

 
plain organic whole milk yogurt (I like goat's milk yogurt)
organic heavy cream
vanilla crème liquid stevia
fresh berries
coconut sugar and cinnamon blend (see mine here)

Put enough yogurt in a bowl for one serving.  Pour a splash of cream in and about 5-6 drops of vanilla crème stevia.  Stir to combine.  Top with fresh berries and sprinkle on your desired amount of coconut sugar and cinnamon. 

 
Here are my favorite brands of yogurt and stevia:


Wednesday, July 22, 2015

Bean Pasole


Everyone needs a few recipes that can come almost entirely from the pantry.  This is one of those recipes - you can basically have everything on hand you need to make it without a shopping trip.  This is something I keep in my hip pocket for a day when I don't feel like cooking, haven't been to the store, or don't have time to babysit the process.  The basics of this soup came to me from my friend Amanda.  She delivered this to my house one day when I was horribly sick.  My whole family loved it and I asked her for the recipe.  It only took minor changes to make this processed free and now we eat it all the time! 
 
2 - 15 oz. cans hominy (rinsed and drained)
2 - 15 oz. cans of beans (pinto, navy, kidney, etc.) I usually choose 2 different kids to look pretty
32 oz. container (4 1/2 cups) reduced sodium chicken or vegetable broth
16 oz. jar of thick and chunky medium salsa (no sugar added)
2 tsp. dried oregano
1/2 cup heavy whipping cream (or 6 Tbsp. milk + 3 Tbsp. butter)
 
optional toppings: cheese, avocado, tortilla strips, chopped cilantro, etc.
 
Put all the ingredients, except the cream, into a crockpot and cook on low 7 to 8 hours or on high for 3 to 4 hours.  30 minutes before serving, pour in the cream, stir, and recover.  Serve as is or add some additional toppings. 
 
Truth be told, I almost never add any other toppings because I haven't been to the store to get them.  Sometimes it's just a sprinkle of cheese.  You could also easily add some leftover roast, pork, or chicken to this if you are looking to use up a small amount of cooked meat.  This is very forgiving and ridiculously fast and easy.