Thursday, February 28, 2013

Healthy Chicken Divan


Sometimes you just want comfort food from your childhood.  This is one of mine.  I remember eating this with my family and hoping there would be leftovers, which there usually never were because everyone loved it.  I think it may originally be a Campbell's soup recipe, but we have changed it over the years and yet again it gets another make-over to become processed free.  To sum up the flavors, it's broccoli and chicken with a creamy, cheesy, curry sauce over the top.  I know - what's not to like, right?  I make this in a 9X13 pan, but you could halve the recipe and put it in an 8X8.  Although, I don't know why you would want to, the leftovers are one of the best parts - yummy and no cooking the next night.  Woohoo!

2 packages frozen broccoli, cooked
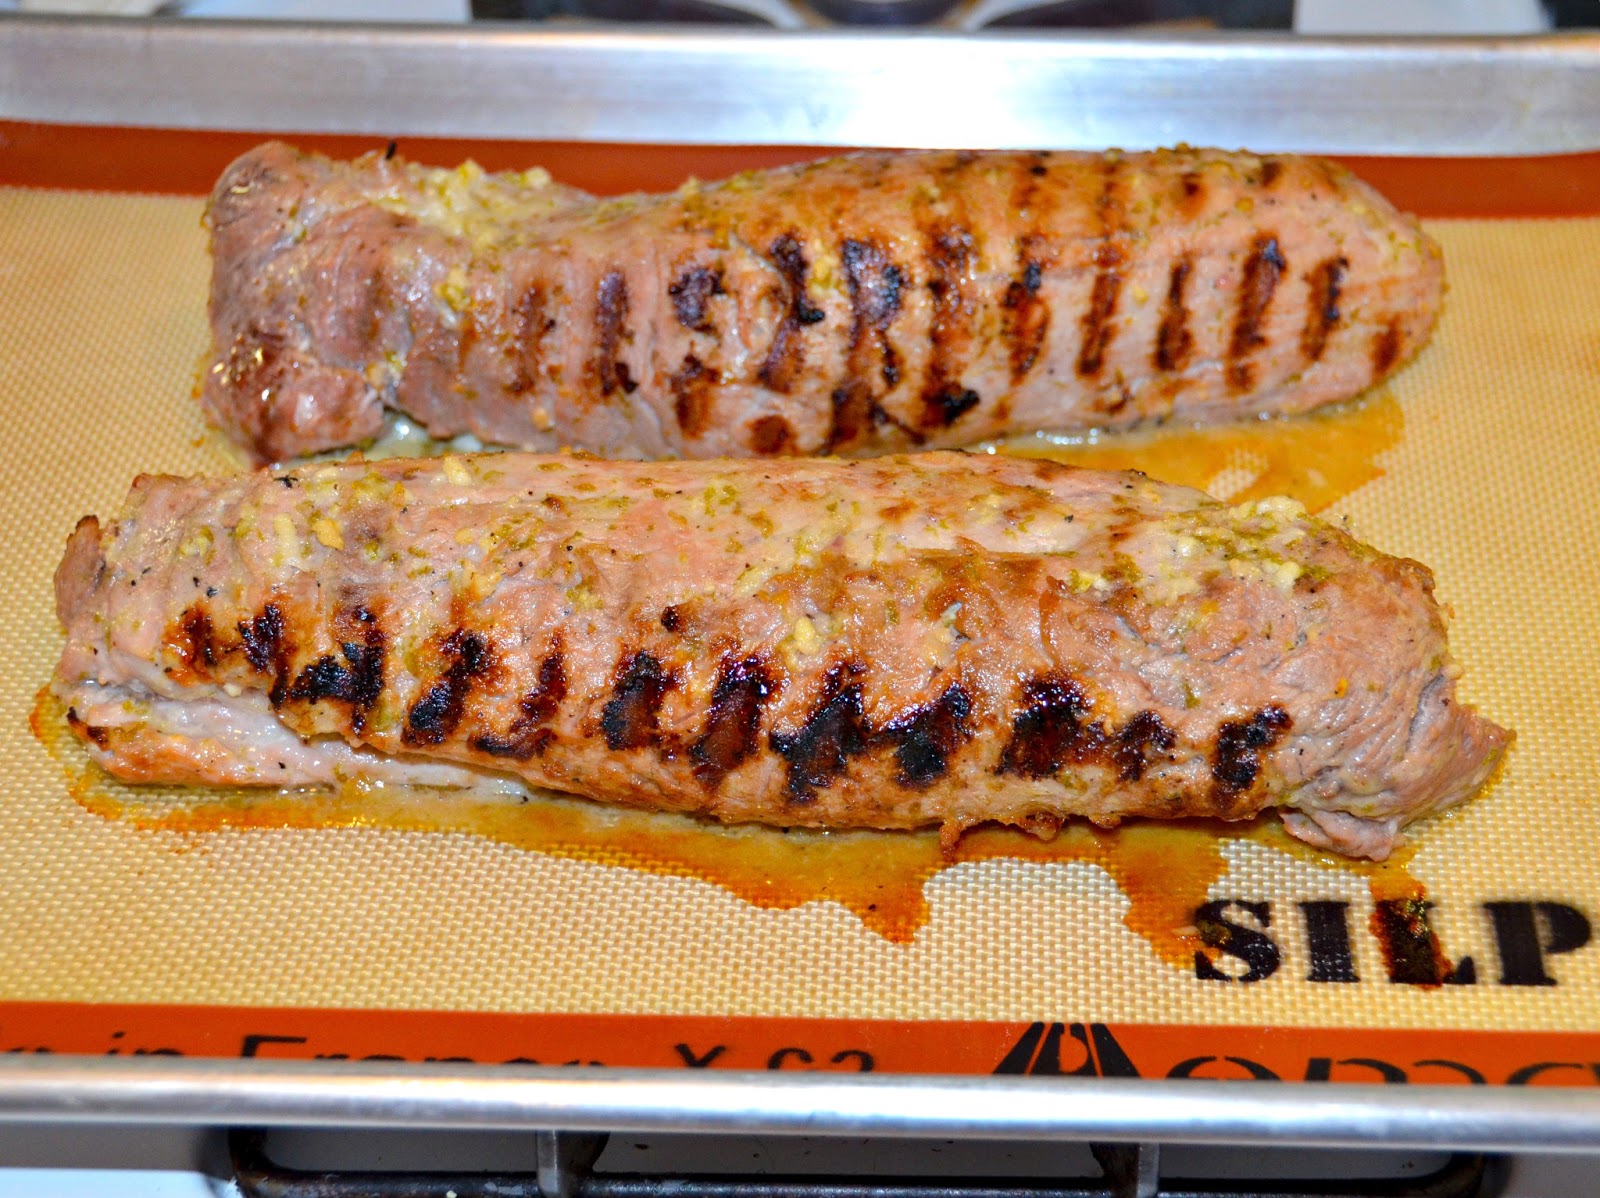
3-6 chicken breasts, cooked and shredded or cut up
2 Tbsp. butter
6 Tbsp. whole wheat pastry flour
1 cup chicken broth
1 cup milk
1 1/3 cups mayonnaise (I like safflower or vegenaise)
1 cup grated cheddar cheese
2 tsp. freshly squeezed lemon juice
1 tsp. curry powder
a scant 1/2 cup non-fat dry milk
1/2 cup water

Optional: bread crumb topping (1 slice of Ezekiel bread or whole wheat bread)

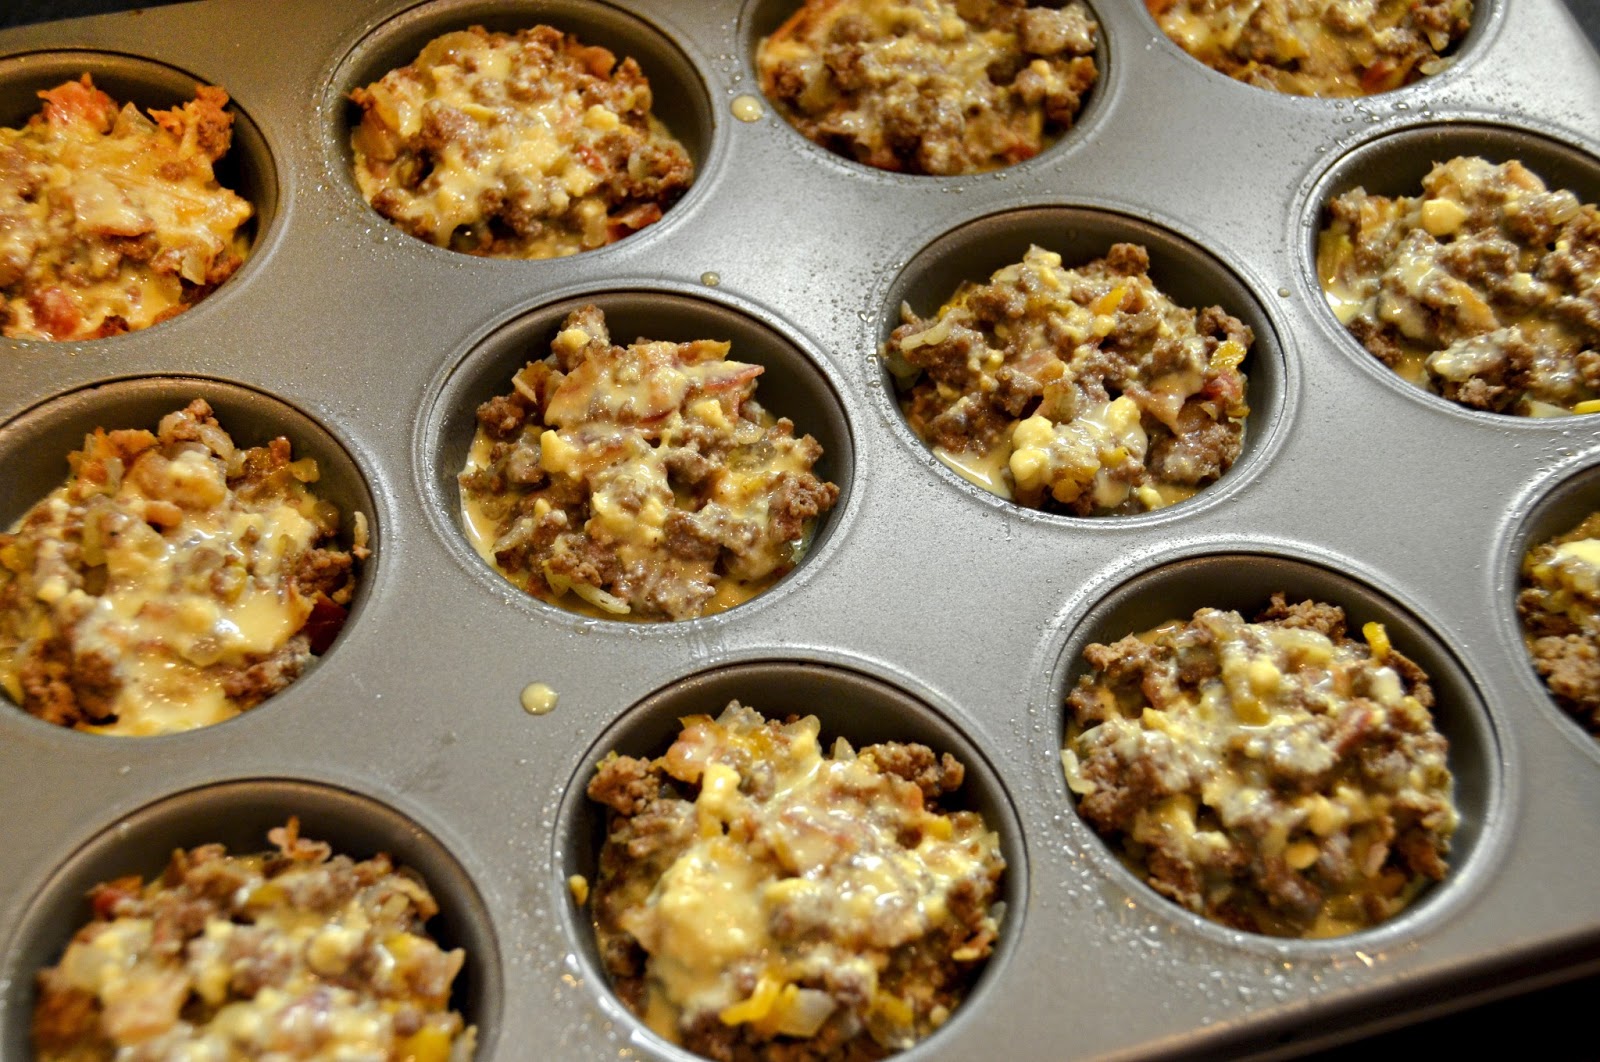
This may look like a long list of ingredients, but this really comes together pretty quickly.  First, grease a 9X13 pan, I use coconut oil, and lay the cooked broccoli in it as the first layer.  You can chop it up into even smaller pieces than I did so that it is easier to eat.  Place the chicken on top and set aside.


In a medium-sized sauce pan, melt the butter and then add the flour to make a roux. Add the broth and milk while you continue to stir to get rid of the lumps.  Once it thickens, turn off the heat and add the mayonnaise, cheese, lemon juice, and curry powder.  In a separate bowl, mix together the dry milk and water, then add to the sauce as well.  Stir everything together until well incorporated and pour over the chicken.


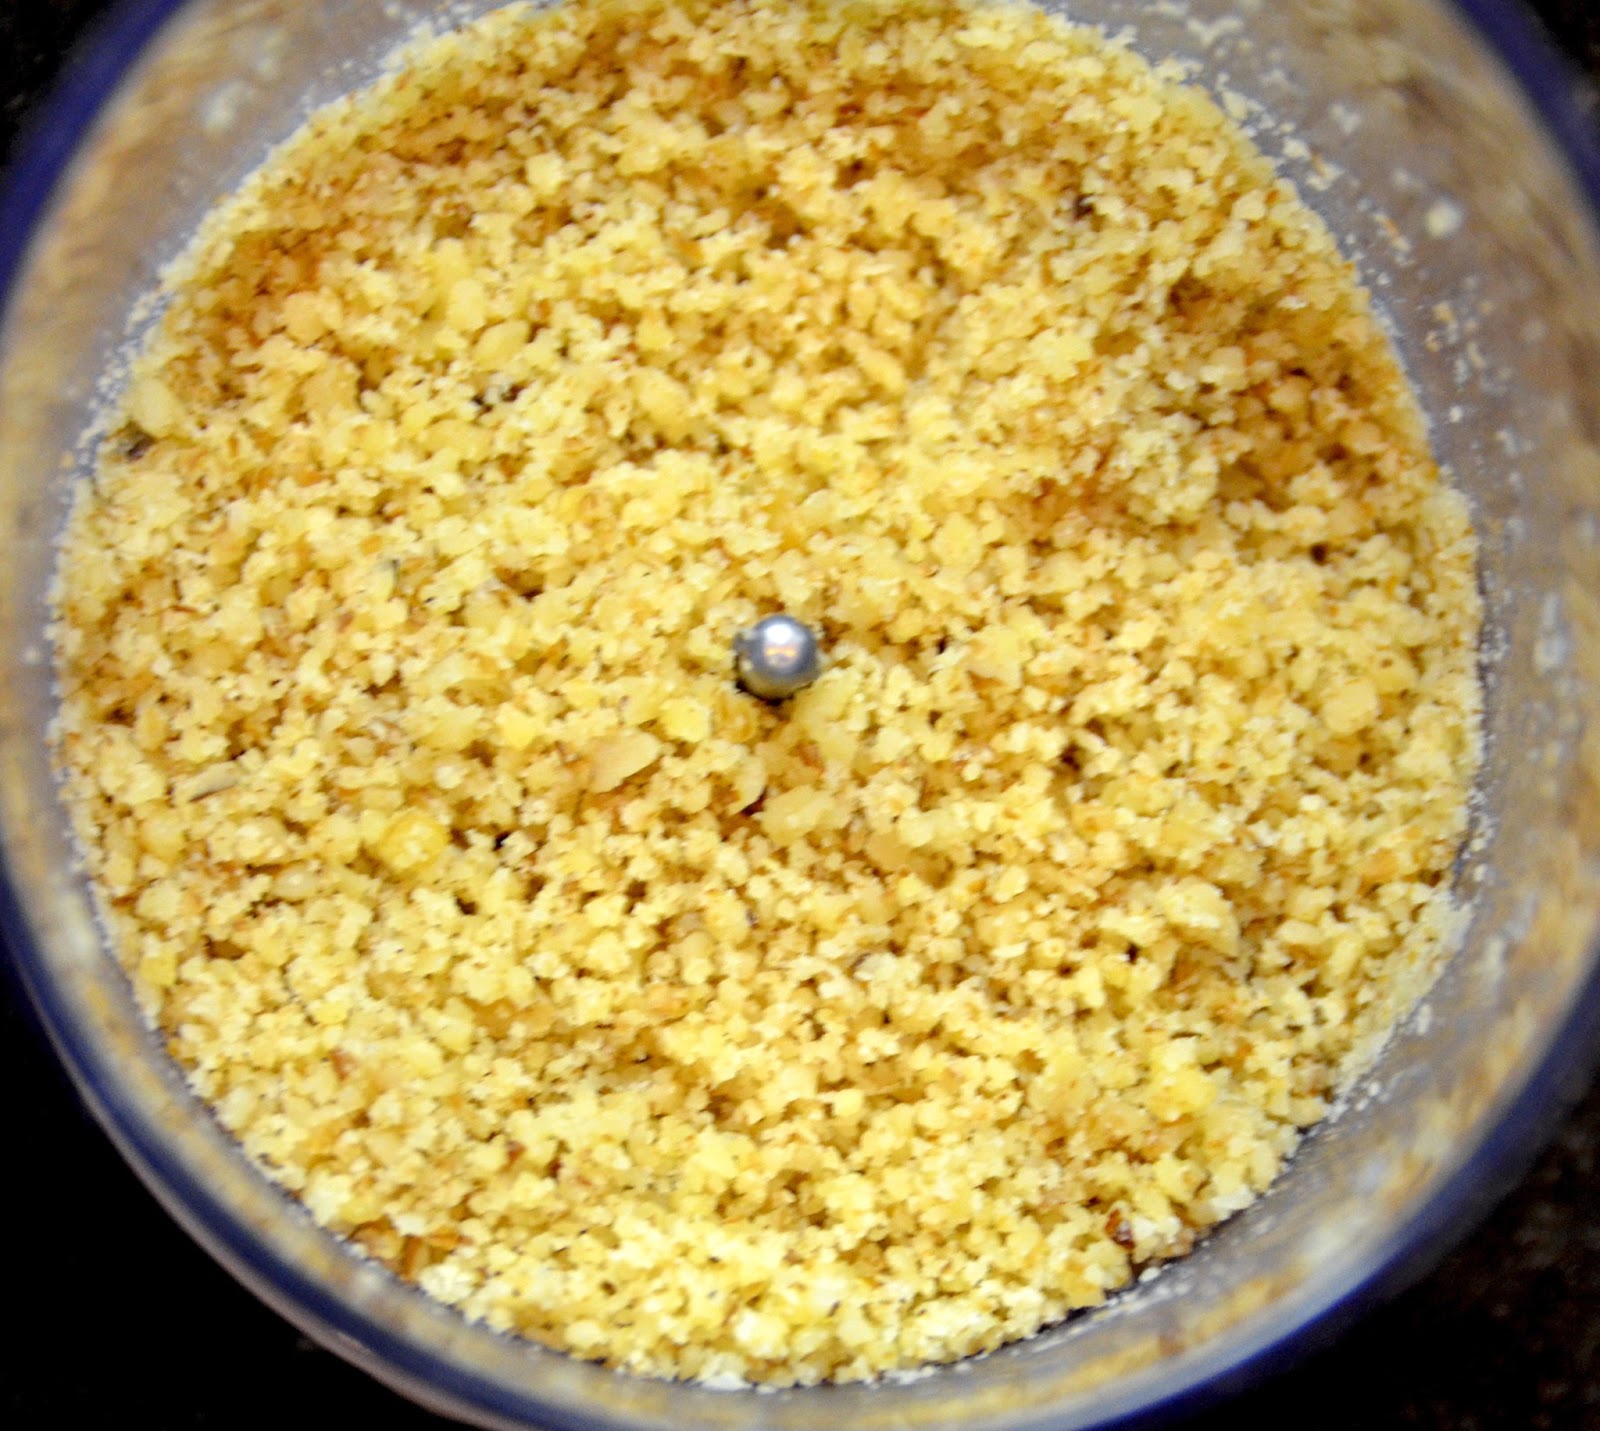
This picture shows a little of the chicken underneath, but you will evenly spread the sauce all the way to the edges.  To make the breadcrumb topping, place a slice of bread in the toaster, then put it into a mini food process and pulse until it is a semi-fine crumb.  Sprinkle evenly over the top of the sauce and bake at 350 degrees for 25-30 minutes.


Here it is right out of the oven.  This will serve 6 to 8 people or just me for several days!  It's creamy, gooey, and satisfying.  The curry is the finishing touch to this dish that makes it special, don't leave it out.  I like to serve this with a side of brown rice or even over brown rice with a nice salad.  This definitely takes me back and puts a smile on my face.  Hope it brings one to you too!


Wednesday, February 20, 2013

Banana Chocolate Chip Donuts


You all know by now that my biggest processed food no-nos are white flour and sugar.  They are just bad news and not worth my health.  So, I've been experimenting with different kinds of flours for a while.  I like whole wheat for sure, but one of my new favorites is spelt flour.  It is a cereal grain in the wheat family so it does have gluten, but most people with a mild wheat allergy can still tolerate it.  It also contains protein, vitamins, minerals, and fiber.  This is light years away from processed white flour.  And as far as sugar is concerned, there are great alternatives out there that are processed free and even nutritious.

I came across a banana chocolate chip donut recipe on pinterest (original here) and knew I could make a few swaps and have a real crowd pleaser for my family.  Plus, these are baked, so no need to get out the frying pan and oil.  I bought a donut pan several years ago and love baking practically anything into a donut (if it has that shape - it's a donut to my kids) and this was a great way to use up those ripe bananas.  

1 cup mashed ripe bananas (about 2)
1/2 cup sucanat (read more about it here)
1/2 cup plain Greek yogurt
1/4 cup melted butter
2 eggs
1 tsp. vanilla
2 cups white spelt flour
1 tsp. baking powder
1/2 tsp. baking soda
3/4 cup dark chocolate chips (or cut up a dark chocolate bar into small chunks)

Preheat the oven to 325 degrees.  In a large bowl, put the banana, sucanat, and yogurt and mix with an electric mixer until incorporated.  Add the butter, eggs, vanilla and mix again.  Then add the flour baking powder, and baking soda.  Mix until just incorporated - don't over mix.  Fold in the chocolate chips.  

Scoop the batter into a large zip-top bag and seal it shut.  Snip off one of the corners (large enough that the chocolate chips can come through) and pipe it into a greased donut pan about 3/4 of the way full.  I used my misto with coconut oil for the greasing - if you don't know what that is, read about it here.  Bake for 12 to 15 minutes and turn out onto a wire rack to cool. 


After a few minutes they are ready to eat!  They taste great as is, but if you want to add more of a donut flare, brush on some melted butter to the tops and dip them in a mixture of cinnamon and coconut/palm sugar or make a healthy, refined sugar free glaze or chocolate sauce (all of which are on my blog too.)  I have to say, we like them as is - no need for extras, but if they appeal with toppings, go for it.  They also freeze well and are easy to pull out one at a time and heat up for 30 seconds in the microwave - how's that for donuts in a hurry!  This will make about 16 to 18 donuts.  Yum!!

 
Update: I just recently got a mini donut maker and I have been cranking out these little baby donuts like no body's business!  Aren't they adorable.  You pipe them into the bottom of the hot donut maker, close the lid for a minute and they are done!  These are so easy to pop in your mouth and they freeze really well.  My kids absolutely love them! 


Bacon Cheeseburger Mini Pies


My husband absolutely loves cheeseburgers.   In the past, he would eat one on a pretty regular basis.  I can't say I don't like them, but I know how unhealthy they are and this keeps most cravings at bay.  Plus, if I really wanted to have one, I would just make it myself and use sprouted wheat hamburger buns.  But, I wanted to also figure out a way to make something that was kid friendly (have you ever seen a four-year-old eat a homemade hamburger?  It isn't pretty.) that would still satisfy my husband's love of all things burgers.  And, of course make it processed free.  I started with the Betty Crocker impossible cheeseburger pies and adjusted the recipe until it was what I wanted.  Both he and the kids liked these cute little muffins and it completely satisfied all bacon cheeseburger cravings.

1 lb. extra lean ground beef
1 small onion, chopped
1 Tblsp. Worcestershire sauce
1 tsp. garlic powder
1 clove of garlic, minced
8 - 10 slices of cooked bacon, cut into small pieces
1 cup shredded cheddar cheese
salt and pepper

1/2 cup milk
1/2 cup whole wheat baking mix (recipe here)
2 eggs

Preheat the oven to 375 degrees.  Grease a muffin tin with coconut oil (be generous or they will stick) and set aside.  In a skillet, cook the beef and onion until meat is brown and onions are translucent - don't forget to add salt and pepper to season, and towards the end, add the minced garlic.  Turn off the heat and add the garlic powder, Worcestershire, bacon, and cheese and stir until it's spread through out.


In a separate bowl, stir together the milk, baking mix, and eggs.  Spoon 1 scant tablespoon of this mixture into each of the muffin cups.  Top with about 1/4 cup of the cheese burger mixture.  Then spoon one more tablespoon of the baking mixture over the top.  It' won't look like there is enough baking mixture in each cup (like the picture below) but there is.


Bake for about 25 to 30 minutes or until a toothpick comes out cleanly.  Cool for about 5 minutes, then use a knife to loosen the sides and remove them from the pan.  Let them cool a few minutes longer before serving.  You can serve these with some sugar-less ketchup, mustard, chopped tomatoes, shredded lettuce or whatever else you like on a bacon cheeseburger.  This makes 12 little pies, enough for 6 people to have 2 each.  

Tuesday, February 19, 2013

Lime and Garlic Pork Tenderloin


We have been trying to eat leaner meats as a family.  One of my favorite cuts of meat is the pork tenderloin and it just happens to be very lean.  It also accepts marinades very well and is easy to cook.  All of this leads me to one of my favorite dishes ever - lime and garlic pork tenderloin.  My gourmet momma has been making this for years.  I have made one swap to make this processed free and trust me, it's full of amazing flavor.  It's also a great dish for company too.

2 pork tenderloins (sometimes they come together in a package that looks like one, but it's two)
the zest of two limes
the juice of 3-4 limes
2 Tbsp. minced garlic
2 Tbsp. olive oil
salt and pepper

Put the zest, juice, garlic oil, and salt and pepper in a zip-top bag.  Poke the tenderloin with a fork a few times and add it to the bag.  Force out the air as you close it to the marinade stays close to the meat.  Let it sit for 1 to 3 hours, but no longer.  You can then cook this slowly on an outdoor grill to medium, basting with the marinade to keep it from drying out.  Throw out the excess marinade because of the raw meat juices.  Or, you can do what I usually do and start this on the grill pan by cooking it for a few minutes on all four sides until it gets some nice grill marks.  Use coconut oil on the pan to keep it from sticking.


Then, finish it off in the oven at 350 degrees for about 15 to 20 minutes.  If your grill pan is oven safe, just take it from the stove top right into the oven.  If not, transfer the meat to a cookie sheet and finish the cooking.  I usually pour more of the marinade over the top just before it goes into the oven.  Take it out and let it rest for about 5 minutes before cutting it.  I like to slice it into little medallions about 3/4 inches thick - it looks really fancy!  This will be so moist and tender with tons of flavor.  I promise you won't be disappointed when you try this.


Thursday, February 14, 2013

Clean Chocolate Covered Strawberries


Nothing says Valentine's Day like chocolate covered strawberries!  But, my thoughts turned to the sugar laden chocolate for dipping and I knew I had to make it processed free.  This recipe is just in time for your special day - you might even have all the ingredients already in your kitchen like I did.  Here is what you need:

1 Tblsp. coconut oil
1 Tblsp. cocoa powder
1 tsp. pure maple syrup
1/4 tsp. vanilla
8 - 10 strawberries

Optional toppings:
ground walnuts
unsweetened shredded coconut

Heat the coconut oil and maple syrup.  Then add the cocoa powder and vanilla.  Stir until smooth.  I chose to hold the strawberry by the green top and spoon the chocolate over as I turned it to get a nice even coating.  This also allowed me to give it a second coat after a couple seconds.  Then place the strawberry on a sheet of wax or parchment paper to set.  When you have dipped all of them, put them in the refrigerator to harden the chocolate even more and keep them fresh.  Eat them within three days.  But, let's be serious - these don't last even three hours at my house!

I chose to add two toppings.  For the first one, I took some walnuts and put them in my mini food processor to grind them up, but be careful to not process them too long or you might get butter.  Then sprinkle them over the freshly dipped strawberry before the chocolate hardens.


The second topping I used was unsweetened shredded coconut.  Again, I just sprinkled this on the strawberry right after it was dipped.  I have to admit, this is my favorite of all the dipped strawberries.  If you like coconut, you will love this!


Now, who wouldn't want to enjoy a nice plate of these on Valentine's Day.  This recipe is really easy to double or triple and adjust to your own tastes too.  I like the chocolate how it is - not too sweet to let the natural sweetness of the berries come through, but if you want it sweeter, just add small amounts of more syrup until it suits you.  Enjoy!


Update:  You can make these completely sugar free (even natural unprocessed sugar free) by substituting the maple syrup for 2-3 drops of liquid chocolate stevia.  It will have a slightly different taste, but there will be absolutely no effect on blood sugar because stevia is an herb.  Give it a try.

Thursday, February 7, 2013

Chocolate Sauce/Magic Shell


Once you've experienced life with chocolate sauce, there really is no going back.  Some things are just better covered in warm chocolaty goodness!  When I first started to go processed free, I thought that I would just have to learn to live without things like this because their ingredient list was so awful.  But, that was store bought chocolate sauce, not healthy homemade sauce.  My friend Staci shared her version of this classic finish and it has changed our lives.  Now desserts feel decadent and sinful without actually being so.

Equal parts:
cocoa powder
pure maple syrup
coconut oil

I usually make this in tablespoon portions (1 of each) because you don't typically need a lot at one time.  You must heat up the maple syrup and coconut oil or this will not be a smooth syrup.  Because coconut oil is solid at room temperature or colder, this needs to be at least slightly warm.  If you combine everything and it doesn't seem smooth enough, put the mixture in the microwave for a few seconds and it will make all the difference.  Below is a picture of only a tablespoon each, and you can see how much that makes.


I wanted to show how great this sauce is poured over desserts like the top picture.  That one shows a picture of my chocolate chocolate chip walnut zucchini muffins (recipe here) with this sauce, which was AMAZING!  But, I also wanted to show how this can become a kind of homemade magic shell when poured over something cold like ice cream.  


Here is my cleaned up vanilla ice cream (recipe here) topped with this sauce, and you can see that it is starting to harden because of the coconut oil.  It makes for a neat consistency when you eat it this way.  I promise you will not feel the least bit deprived with all this yumminess on your plate.  Enjoy!
 

By the way, this is not the kind of sauce to make chocolate milk with - that's different.  I'll share that recipe sometime soon too.


Tuesday, February 5, 2013

Whole Wheat Biscuit Donuts


Sometimes you just want something to eat that satisfies your sweet tooth.  This is when you usually get in trouble and settle for putting something horribly unhealthy in your body.  Refined, processed sugar is so damaging to your health!  I will make a future post pin-pointing it's damaging effects, but for right now, take my word for it.  But, I do want sweet things to eat and my dessert-loving kids and husband don't want to feel denied either.  This is where healthy sweeteners that are processed free come in.  They are absolute life savers when it comes to having your cake and eating it too, literally!  Here is my take on a "donut."  I didn't start out making these as a donut recipe, but they are a quick substitute for a donut craving.  After all, they are fried dough rolled in a sweetener or glazed!  These little cuties are tiny, kid-friendly, and extremely fast to make.  You'll have them made and eaten before you run to the store to buy something you will later regret!

2 1/4 cups whole wheat baking mix (found here)
2/3 cup milk

Mix ingredients and roll out to about a 1/2 inch thickness. I like to roll them out on wax paper that I wet on one side to keep it from sliding on the counter, then sprinkle some whole wheat flour down and some on the top to keep it from sticking to the paper or your rolling pin. Cut out with a small round biscuit cutter or something else that will give you a small circle.  (If this all sounds familiar, you're right - up to this point it's pretty much the same as making my regular whole wheat biscuits, but here is where we change it.)
 

In a small pan, put enough coconut oil to make it about a 1/4 in high.  You won't need very much if your pan is small and you drop these in the oil in batches of three.  I found that these only take about 30 seconds per side, so three at a time was perfect.  Don't let let burn - it really does take no time at all to fry these. 


Fish them out with a slotted spoon and lay them on some paper towels to drain.  I just line a baking sheet with them so I have a convenient landing spot.  I like to have my dips or glazes already selected and in bowls before I put them in the oil.  Here are the three we used this day.  


This picture shows the donuts rolled in cinnamon and coconut/palm sugar.  I always have this mixture in a small container in my cupboard ready to use all the time - I talk about it here.  This is the only mixture that I dropped them into right after being in the oil without letting it drain on the paper towel.  I thought it helped the cinnamon/coconut sugar adhere better.


This one shows the sucanat powdered sugar - I talk about this here.  I did let these drain for a second, then rolled them in the healthy powdered sugar.  I thought these had the best texture - a bit crunchy on the outside and soft in the middle.


This last picture shows a glaze I made with some of the sucanat powdered sugar, milk, and a little vanilla extract.  If you use sucanat to make your powdered sugar, this will have a slight molasses flavor to the glaze, which my kids loved!  If you use something else like coconut/palm sugar or erythritol it won't have that added flavor.  (I explain this more in the post about making the powdered sugar.)

These end up being kind of like a flatter-shaped donut hole when you are done.  They are awfully easy to keep popping in your mouth, so make sure everybody gets some before devouring the whole pan yourself.  I love how quick these are to make and that they satisfy an unruly craving with something healthy.  

Saturday, February 2, 2013

Chocolate Chocolate Chunk Walnut Zucchini Muffins


If you are a parent, you have probably experienced the universal cry from your children for something sweet day in and day out.  This is the case with my youngest who is a very finicky eater.  It's hard to get the good stuff in him when all he wants is chocolate!  So, this was my answer to his chocolate-craving little soul that I could feel good about.  Of course, it's processed free, but it also has whole grains, vegetables, nuts, and chocolate - which is healthy when used the right way.  This recipe makes about 15 muffins.

1 1/4 cup milk or almond milk (warm, but not hot)
2 tsp. apple cider vinegar or lemon juice
2 cups whole wheat baking powder
1/3 cup cocoa powder
1 Tbsp. baking powder
1 tsp. baking soda
1/2 tsp. fine sea salt
1/2 cup sucanat (read more here)
1 egg
3 Tbsp. pure maple syrup
1 tsp. vanilla extract
1/4 cup melted coconut oil or butter
2/3 cup chopped walnuts
1/3 cup dark chocolate chips or cut up dark chocolate bar
1 1/4 cup shredded zucchini (leave skin on)

Preheat the oven to 350 degrees.  Lightly spray muffin tin with coconut oil and set aside.  Mix the milk and vinegar/lemon juice and let it start to curdle then set aside.  Add the dry ingredients to a separate bowl: flour, cocoa powder, baking powder, baking soda, salt, and sucanat.  Mix the wet ingredients separately: egg, milk mixture, maple syrup, vanilla, and oil/butter.  (If your milk mixture is not warm enough, it will cause the butter or coconut oil to clump up.  If this happens, just put it in the microwave for a few seconds to liquefy it again.) Pour the wet ingredients into the dry and stir until combined.  Fold in the chocolate chips, walnuts and shredded zucchini.  Scoop batter into the prepared muffin tin and fill them about 3/4 of the way full.  Bake for 15 to 17 minutes or until a toothpick comes out clean.  Cool for a few minutes in the tin then transfer to a cooling rack until they are just slightly warm - my favorite time to eat them!


These are delicious muffins all by themselves, but can even pass as cupcakes if you put chocolate sauce or a processed-free frosting on them.  You can also eat them with butter or cream cheese, but I have to admit, I like them plain.  We put them in a freezer bag with the air squeezed out and into the freezer, so that anyone can enjoy a sweet snack whenever they wish.  Not bad for a healthy treat!